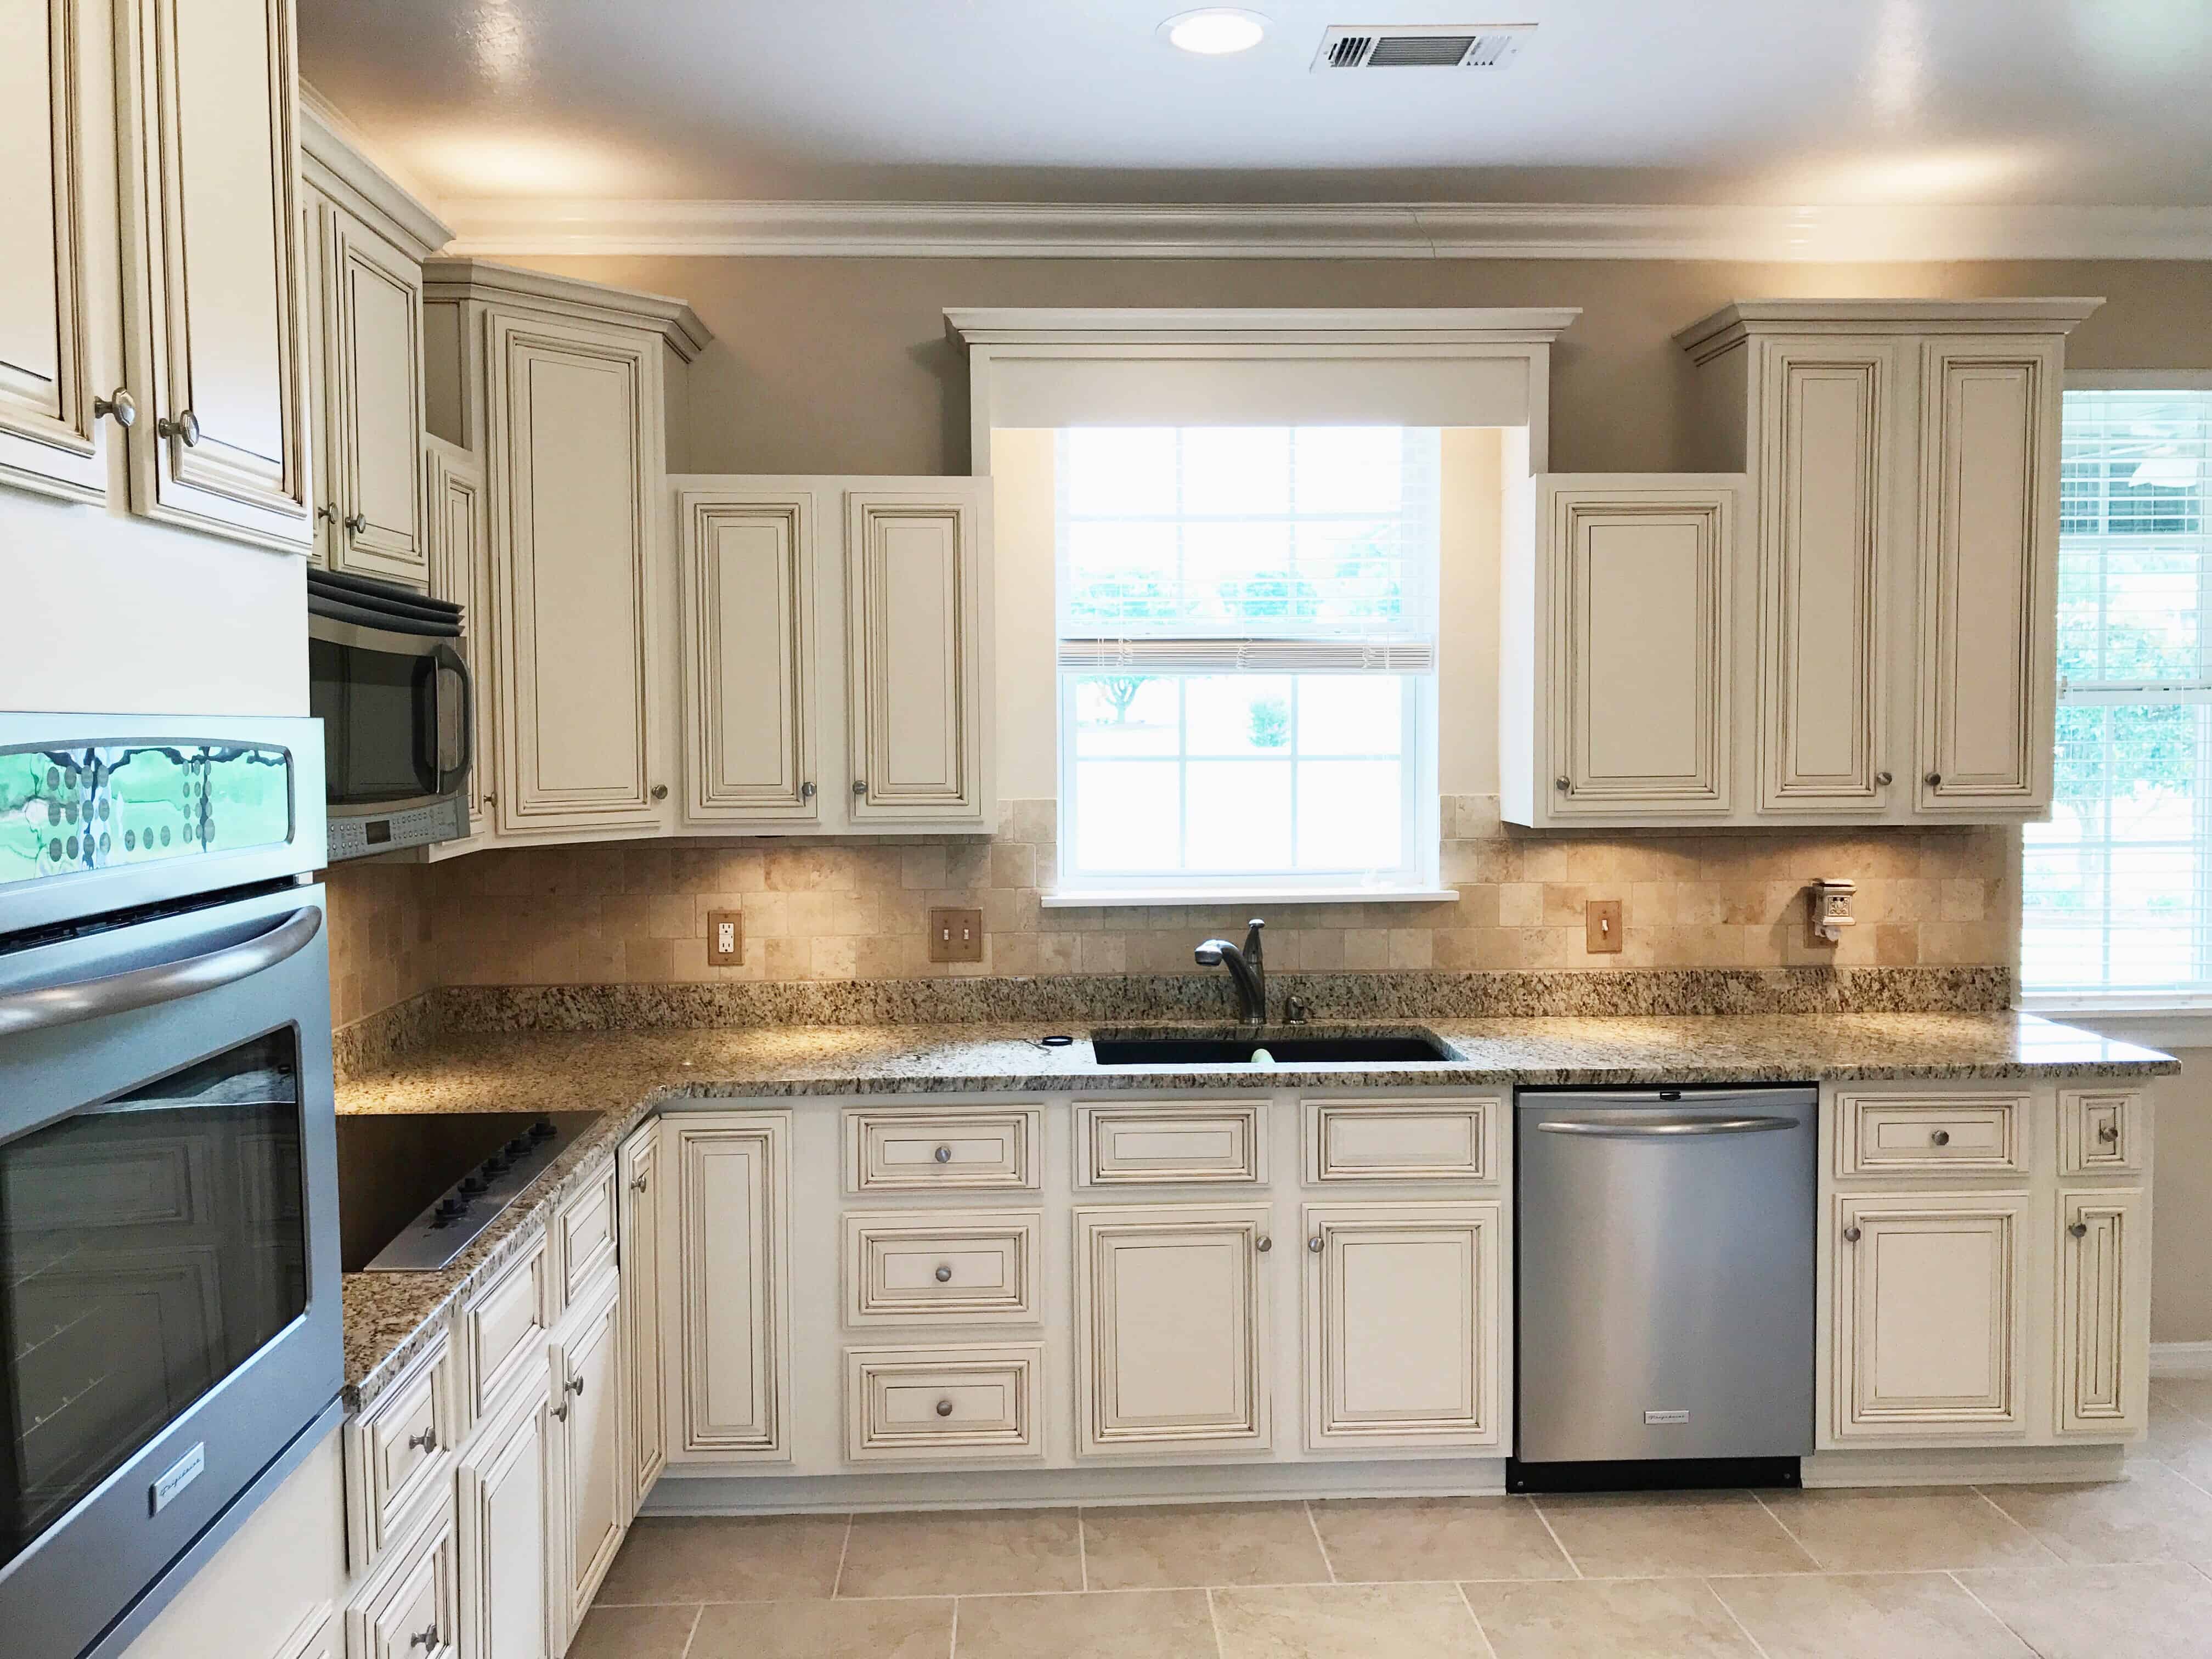
Finding the Right Paint Match

Choosing the correct paint for touching up your white cabinets is crucial for a seamless and professional-looking finish. The wrong choice can lead to noticeable patches, uneven sheen, or even paint failure over time. Careful consideration of paint type and sheen is essential for a successful repair.
Paint Type Comparison for White Cabinet Touch-Ups
Selecting the appropriate paint type is the first step towards a successful touch-up. Acrylic, enamel, and latex paints each offer unique properties that make them suitable for different applications and preferences. Understanding these differences will help you make an informed decision.
Acrylic paints are water-based, making them easy to clean up with soap and water. They offer good adhesion and are relatively durable, making them a popular choice for many home improvement projects. However, they may not be as resistant to scratches and abrasion as enamel paints. They are also less forgiving of imperfections in surface preparation.
Enamel paints, typically oil-based, are known for their exceptional durability and hardness. They are highly resistant to scratches and chipping, making them ideal for high-traffic areas. However, they require mineral spirits or other solvents for cleanup, which can be more cumbersome. They also tend to have a stronger odor during application and drying.
Latex paints, another water-based option, provide a good balance between durability and ease of application. They are easier to clean up than enamel paints and offer decent durability, although not as much as enamel. They are a versatile choice for many applications but may not be as suitable for areas with extreme wear and tear as enamel paints.
Sheen Options for White Cabinet Touch-Ups
The sheen of your paint significantly impacts the final appearance and durability of your touch-up. Different sheens are better suited for different areas and levels of wear. Consider the following options:
| Sheen | Description | Suitability | Wear Resistance |
|---|---|---|---|
| Matte | Very little to no shine; hides imperfections well. | Areas with minimal wear; creates a more traditional look. | Low |
| Eggshell | Slight sheen; durable yet hides minor imperfections. | Most cabinet areas; balances durability and hiding imperfections. | Medium |
| Satin | Moderate sheen; easy to clean and durable. | High-traffic areas; provides a good balance of durability and cleanability. | High |
| Semi-Gloss | Significant sheen; very durable and easy to clean. | High-wear areas like cabinet doors; resists scratches and stains well. | Very High |
| Gloss | High shine; very durable and highly resistant to scratches and stains. | Areas needing maximum protection; may show imperfections more readily. | Very High |
Determining the Original Paint Color
Matching the existing paint color is crucial for a seamless repair. Several methods can help you achieve a precise match:
Visual inspection can provide a starting point, but it’s often not precise enough for perfect matching, especially with variations in lighting. This is best used in conjunction with other methods.
Paint testing kits allow you to collect a small sample of the existing paint and compare it to various color swatches or create a custom match at a paint store. These kits offer a more accurate match than relying solely on visual inspection.
Contacting the cabinet manufacturer is a good option if you know who made your cabinets, especially if the cabinets are relatively new or high-end. They may be able to provide information on the original paint used or recommend a suitable replacement. Keep in mind that this might require some investigation and might not always be successful.
Preparation and Application Techniques: White Cabinet Touch Up Paint

Achieving a flawless touch-up on your white cabinets requires meticulous preparation and careful application. The key to success lies in creating a smooth, even surface that seamlessly blends with the existing paint. This involves careful cleaning, gentle sanding, and the strategic use of primer, followed by the thoughtful selection and application of your touch-up paint. Let’s dive into the details.
Cabinet Preparation
Proper preparation is paramount for a professional-looking finish. Skipping this step often leads to uneven paint application and a less-than-ideal result. Take your time and follow these steps to ensure a smooth and even surface.
- Clean the Surface: Begin by thoroughly cleaning the area to be painted. Use a degreaser or a mild dish soap solution to remove any grease, dirt, or grime. Rinse thoroughly with clean water and allow the surface to dry completely. This step ensures the paint adheres properly.
- Sand the Surface: Lightly sand the area around the damaged section using fine-grit sandpaper (220-grit or higher). This creates a slightly rough surface, improving paint adhesion. Sand gently in the direction of the wood grain to avoid creating scratches. Wipe away any sanding dust with a tack cloth.
- Prime (if necessary): If the damaged area is significantly different in color or texture from the surrounding area, or if you’re working with bare wood, apply a thin coat of high-quality primer specifically designed for cabinets. Allow the primer to dry completely according to the manufacturer’s instructions. Priming ensures better paint adhesion and prevents the underlying surface from showing through.
Touch-up Paint Application Methods
Choosing the right application method significantly impacts the final result. Each method has its advantages and disadvantages, making it crucial to select the one that best suits your skill level and the extent of the touch-up required.
- Brush Application: A small, high-quality artist’s brush is ideal for precise touch-ups. It allows for excellent control and can reach into tight corners and crevices. However, brush strokes can be visible if not applied carefully. Multiple thin coats are recommended to avoid brush marks and ensure even coverage.
- Roller Application: A small foam roller can be used for larger touch-up areas. It provides a relatively smooth finish, but may not be suitable for detailed work. Again, multiple thin coats are crucial for avoiding roller marks and achieving a uniform appearance. Be mindful of the pressure used to avoid creating uneven patches.
- Spray Application: An aerosol spray can provide a very even finish, especially for larger areas. However, overspray can be a problem, requiring masking of surrounding areas. Also, it’s important to use a light hand and multiple thin coats to avoid runs and drips. This method requires more preparation and cleanup.
Troubleshooting Common Application Problems
Even with careful preparation, some issues might arise during application. Knowing how to address these problems is crucial for achieving a professional-looking finish.
- Brush Strokes: Visible brush strokes often result from applying paint too thickly or using a brush that’s not suitable for the paint type. To remedy this, lightly sand the area with fine-grit sandpaper after the paint has dried completely, then apply another thin coat. Using a high-quality brush with soft bristles also helps minimize brush marks.
- Uneven Coverage: Uneven coverage usually stems from insufficient preparation or applying paint too thickly. Ensure the surface is clean, sanded, and primed properly. Apply multiple thin coats, allowing each coat to dry completely before applying the next. This builds up coverage gradually and evenly.
- Drips: Drips are often caused by applying paint too thickly or using too much paint at once. For brush application, use a smaller amount of paint on the brush and work in thin layers. For spray application, maintain a consistent distance from the surface and use short, even strokes. If drips occur, allow the paint to dry completely, then carefully scrape off the excess paint with a sharp blade and lightly sand the area smooth before repainting.
Beyond the Basics

Mastering the art of white cabinet touch-ups transcends simply applying paint; it’s about achieving an invisible mend, a seamless blend that restores the pristine beauty of your cabinets. This involves understanding techniques that go beyond the initial application, ensuring a professional-looking finish that stands the test of time. We’ll explore advanced strategies to elevate your touch-up game and leave you with cabinets that look flawlessly repaired.
White cabinet touch up paint – The key to a successful touch-up lies in meticulous preparation and the application of refined techniques. While a single coat might seem sufficient, achieving an invisible repair often necessitates multiple thin coats, careful blending, and the use of appropriate tools. This ensures the new paint seamlessly integrates with the existing finish, avoiding noticeable patches or uneven texture.
Seamless Blending Techniques
Achieving an invisible repair hinges on mastering blending techniques. Feathering and stippling are two invaluable methods for seamlessly integrating the touch-up paint with the surrounding area. Feathering involves gently softening the edges of the fresh paint using a soft brush, gradually blending it into the existing finish. Imagine a painter delicately blurring the lines between colors in a landscape painting—that’s the essence of feathering. Stippling, on the other hand, involves using a small brush or sponge to apply paint in tiny dots, creating a textured effect that helps the new paint merge with the old. Think of it as creating a constellation of tiny paint specks that collectively blend into the existing surface. Practice on a scrap piece of wood first to get a feel for the pressure and technique required for each method.
Essential Materials for a Flawless Finish, White cabinet touch up paint
Having the right tools at your disposal is paramount for a successful touch-up. Beyond the paint itself, several other materials are essential for achieving a professional-looking result. These items ensure a smooth, even application and a final finish that is indistinguishable from the original.
- High-Quality Paintbrush: Choose a brush with soft bristles appropriate for the size of the touch-up area. A smaller brush is ideal for detailed work.
- Small Roller (Optional): A small foam roller can be helpful for larger touch-up areas, ensuring even coverage.
- Fine-Grit Sandpaper (180-220 grit): Use this to lightly sand the edges of the touch-up area before painting, creating a smooth transition. This is crucial for seamless blending.
- Tack Cloth: This lint-free cloth removes dust and debris from the cabinet surface, ensuring a clean painting surface.
- Painter’s Tape (Optional): Use this to mask off areas you don’t want to paint, especially if working on intricate details or around hardware.
- Cleaning Supplies: Include a damp cloth for cleaning the surface before painting and removing excess paint.
- Drop Cloth or Newspaper: Protect your work surface from paint spills and drips.
